1 Setting up an integration with Jira
To set up a Jira integration, follow these steps:
- Log in to Jira with an account that has access to your organization Settings page.
- Click the Settings button on the upper right side of the page and select Products:
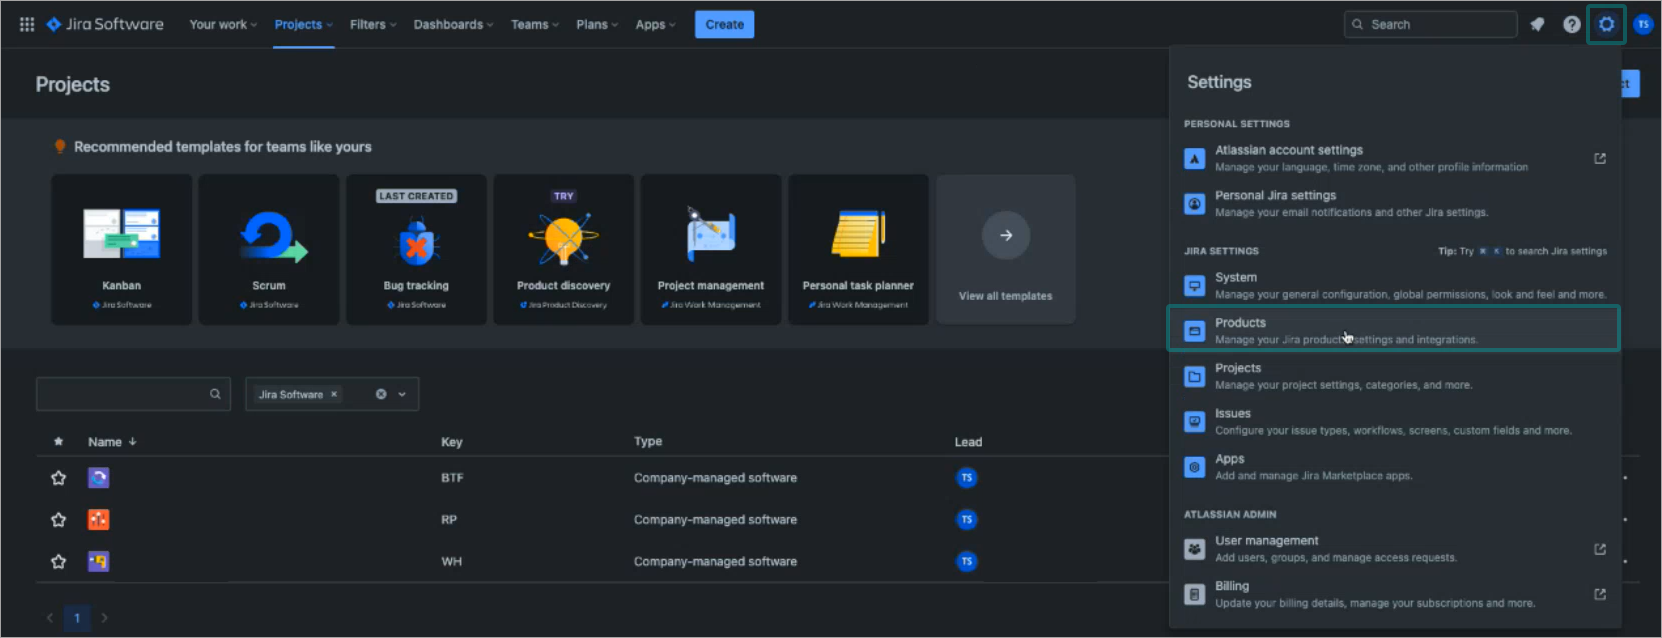 The Jira Software configuration page is displayed.
 - Click the Applications links link from the menu on the left side of the page.
- Click the Create link button:
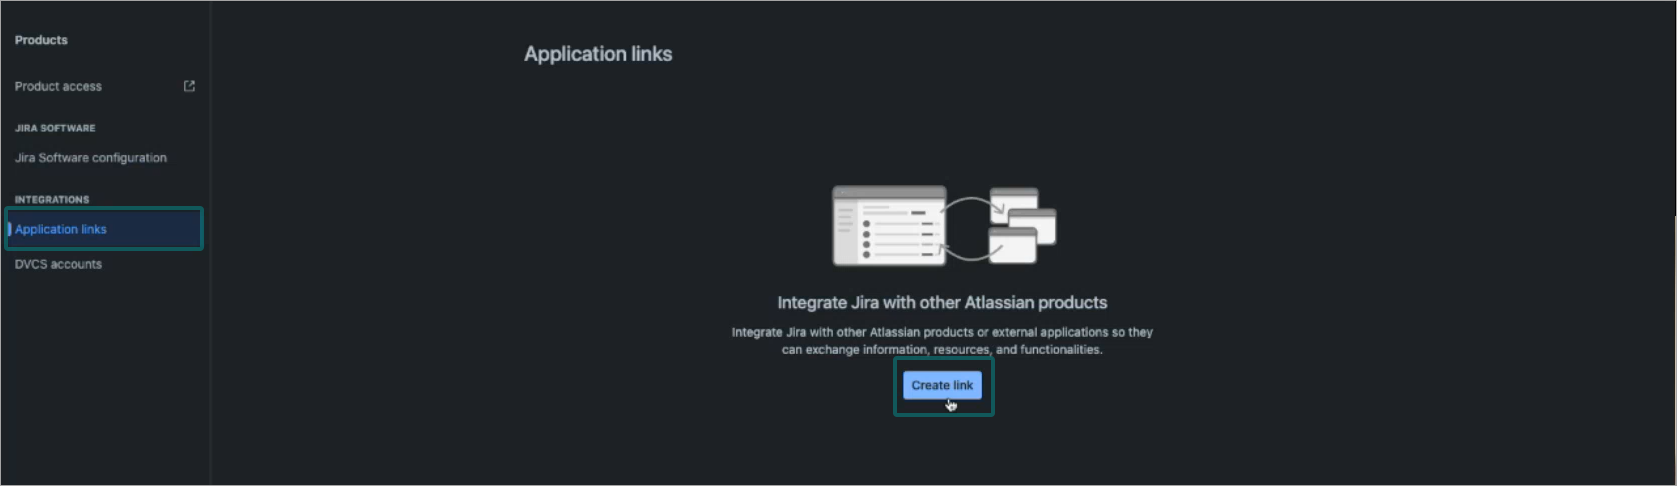 The Create link window is displayed.
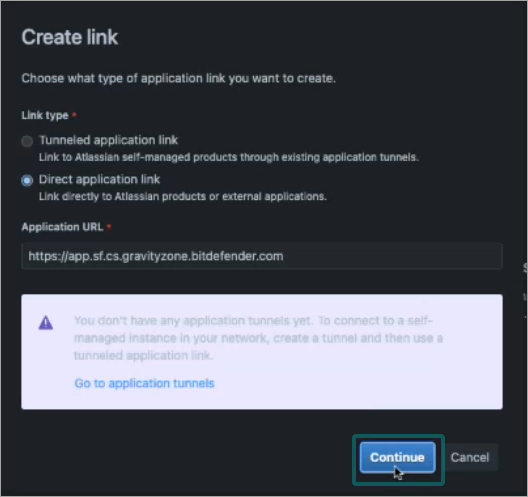
 - Under Link type, make sure the Direct application link is selected.
- Open a new browser tab and log in to your Cloud Security console.
- Copy the first part of the URL, starting from
httpsand up togravityzone.bitdefender.com: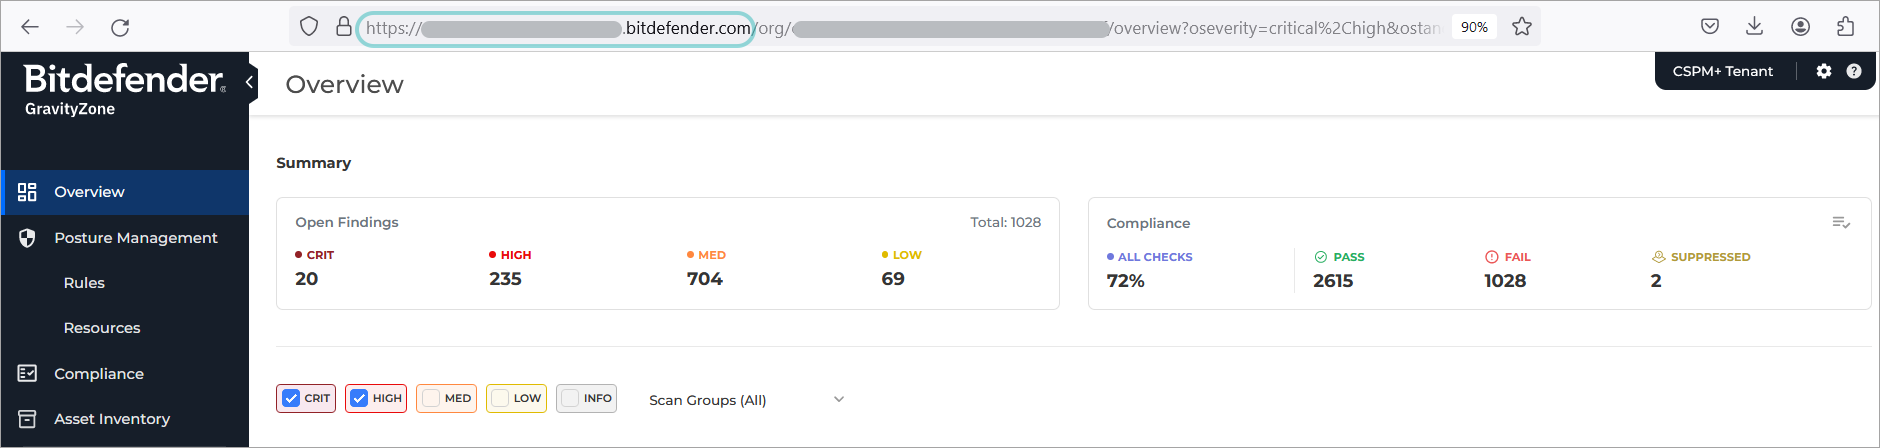
- Go back to the browser tab with Jira and paste the URL into the Application URL field.
- Click Continue.
- In the Configure Application URL window, the new URL field will be auto filled with the URL you entered in the previous step.
- Click Continue. The Review link window is displayed.
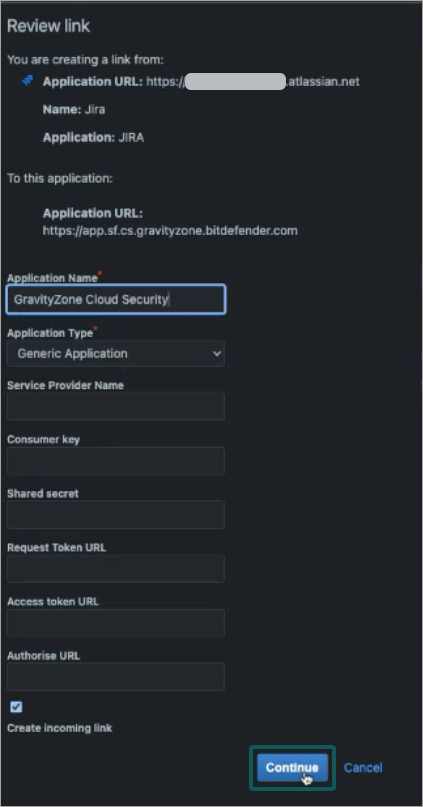
- Fill in the following information:
- Under Application Name, type in a descriptive name, such as
GravityZone Cloud Security. - Under Application Type, select
Generic Application. - Select the Create incoming link checkbox.
- Under Application Name, type in a descriptive name, such as
- Click Continue.
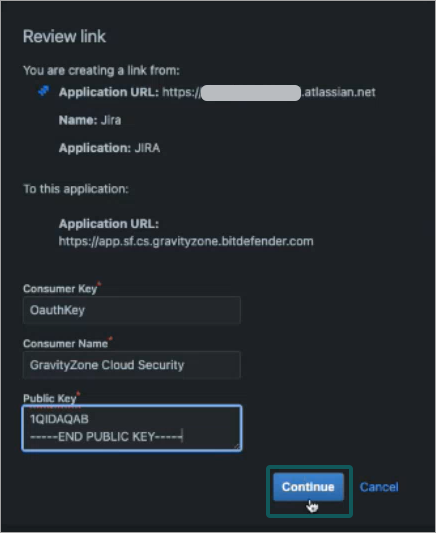
 Additional information is displayed under the Review link window.
 - Fill in the following information:
- Under Consumer Key, type in
OauthKey. - In the Consumer Name field type in a descriptive name, such as
GravityZone Cloud Security. - Copy the below code and paste it under Public Key—–BEGIN PUBLIC KEY—– MIIBIjANBgkqhkiG9w0BAQEFAAOCAQ8AMIIBCgKCAQEAsrt+7VobIBFZE6fK9Ikd hEZBFUSzB3i41j/ MftDJwyC4YlNIvQIyhMR1ViRpxQFQiQFp7P9FlDLsezrDJu+E m7Z+VJFLcnOHoOm4EAcyjlMbUb87YPYp0SbvxxVnhbpQ4EOIr//gMO/ +yjyh6lVc i3uy+B7MFFlF247fhnpQOWthI5dK6C44Y66YSzAEPHHMVDyRYPciuajSdodSr71s h/ 0nuF5jy0jv48qzfZVKw3w258JvXmx8V+ia5MxlYAfDN9vVX0Gb0oFOzfqr/ qDxOfyBYoV3NcURgCj1EA0V/ADsFS+BVWB5fs8Bs1kLREsPjmOlI6A4PRiRFKiGyuLM 1QIDAQAB —–END PUBLIC KEY—–
- Under Consumer Key, type in
- Click Continue:
 The Application links page is displayed, along with a new entry, if the creation of the entry has been successful.
 - Copy the first part of the URL, starting from
httpsand up toatlassian.net: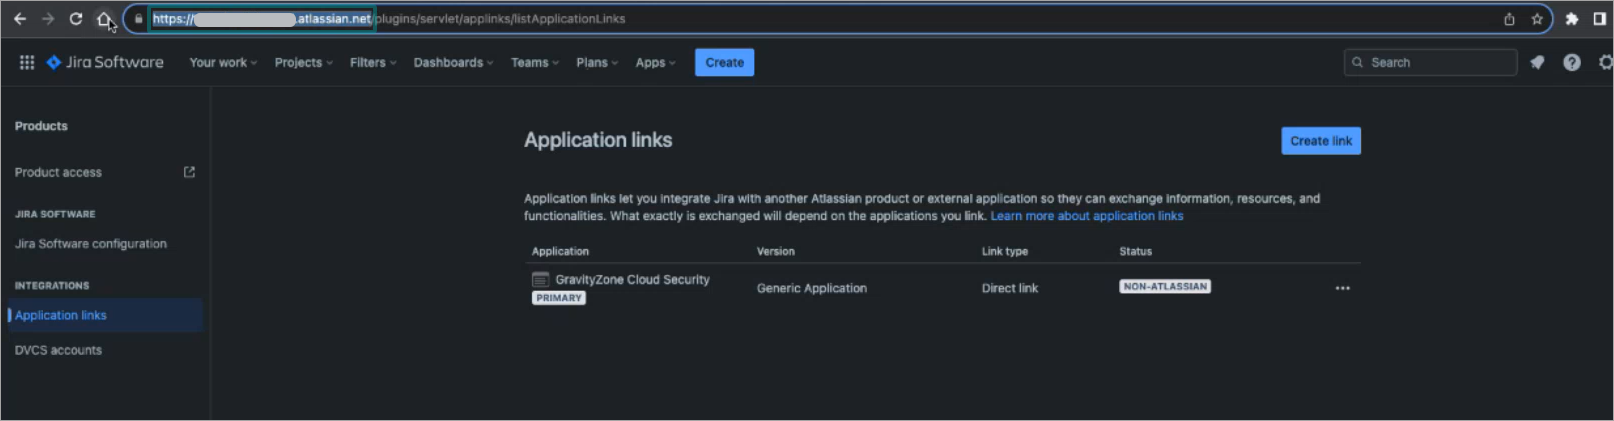
- Go back to the Cloud Security console browser tab.
- Go to the Integrations page.
- Under the Task Management section, click the Add button for the Jira integration:
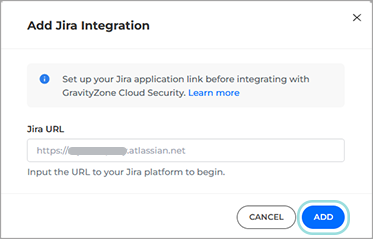
 The Add Jira integration window is displayed.
 - Paste the URL you copied in step 16 in the Jira URL field.
- Click Add:
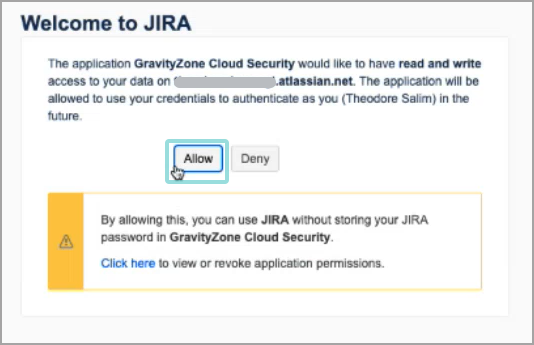
 A Welcome to Jira window appears.
 - Click Allow to finish the integration.
The integration is now complete.
The No connection status is no longer showing under Jira, and today’s date is displayed under the Integration date column.
2 Creating a Jira ticket from a finding
To automatically generate a Jira ticket from a finding, follow the steps below:
Note
To use this feature you require an active Jira integration.
- Open the Check Details panel for the finding you want to export.
- Click the Export
 button on the upper right side of the panel and select Export issue:
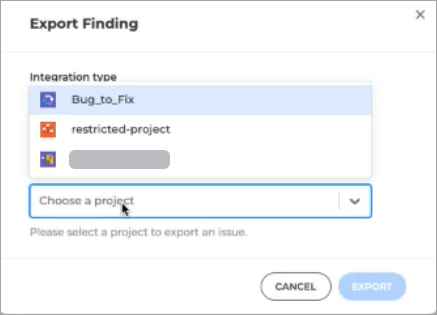
 The Export Finding page is displayed.
 - Click the Choose a project drop-down menu and select the project where you want to create the request:
- Select the type of issue you want to create.
- Click Export
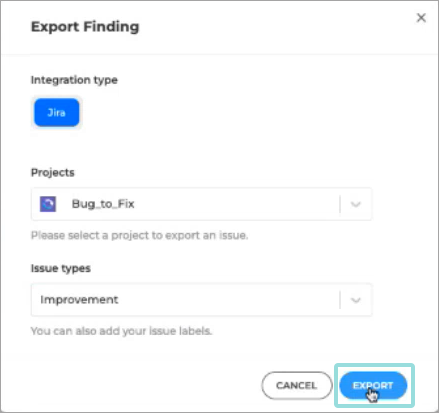
A new Jira ticket containing all the information present in the finiding is created.
Ref :